This guide was a combination of Microsoft Articles and other searches while installing the new infrastructure. Use at your own risk :).
Things to keep in mind, if you currently have a CA already in place when the new CAs are set it will have the OOB templates, I highly suggest deleting the templates on the new CAs as soon as you finish the configuration, this can be added later on. Your domain joined computers will have a new root cert in addition to the current root cert, your non windows devices will not have the new root cert so you will need to share the root cert to get it added.
(First Step) Create a server for your offline root certificate and do not join it to the domain.
Add Roles and Features, Click next, Select Role-Based Click Next, Click next on server selection.
For Server Roles Click “Active Directory Certificate Services”

Click Add Features
Click next, Click next Select “Certificate Authority” then next

Install –> Close –> Click Configure Active Directory Certificate Services on the notification

Supply the credentials and click next Click Certificate Authority, then Next

Select “Stand-Alone CA” click Next
Select Root CA then next
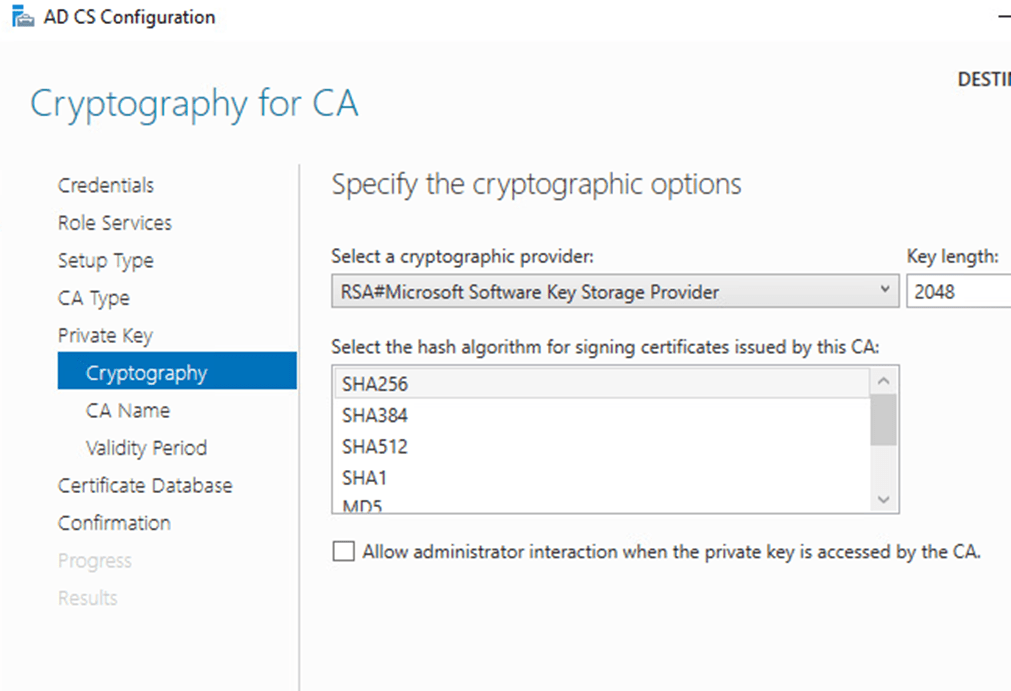
Create a new private key then next
Select your preferred key length then next
Specify Name of the CA then Next
Click next on the location.
Confirm then click configure.

This is the time to fix your extensions “CDP/AIA”
Once done navigate to C:\Windows\System32\CertSrv\CertEnroll
Grab the two files you will need these for the subordinate CA servers
(Second Step) Creating the Subordinate and Web Enrollment Certificate servers
Create Server(s) and join to domain
Add Roles and Features
Click Next, Select Role Based Click Next, Click Next
Click on Active Director Certificate Services, Click Add Features, Click Next
Click Next, Next Select the following

Click Install
Configure the Activate Directory Certificate Services

Use a credential that is a member of the enterprise admins then click next
Select the roles then next

Select Enterprise CA click next
Select Subordinate CA Click next
Select create a new private key then next
Choose the Cryptography then next
Supply the Names then next
Remember the req file location then Click next
Click Close
Copy the req file from the Enterprise Server CA to the Offline Root Server
Login to the offline root server and open Certificate Authority

Right Click on the CAName, click on extension and update the details for CDP and AIA, click ok
Right Click on the CAName again, All Tasks, then Submit New request

Find the copied req file from the enterprise CA server then Click Open
Click on Pending Requests

Issue
Go to Issued Certificate
Open the certificate then click details
Click Copy to file
Select the options below

Save the file
On the offline root server copy the certificate you just issued and the two files located here C:\windows\system32\CertSRV\Certenroll
GO back to the enterprise root server and execute the commands below
certutil –dspublish –f C:\CompanyRoot-RootCA.crt RootCA
certutil –addstore –f root C:\CompanyRoot-RootCA.crl
certutil –addstore –f root C:\CompanyRoot-RootCA.crt
certutil -installCert C:\Company-IssuingCA.p7b
Open the CA and start services
BONUS – Your offline root is set to issue certificates for only 1 year, If you want to have the Intermediate certs more than 1 year use the commands below on your offline root cert before issuing the Certs for Subordinates (below is an example for 5 years)
certutil -setreg ca\ValidatePeriod “Years”
certutil -setreg ca\ValidityPeriodUnits 5
